
Zombies Arent Real Safe Zone, Wall and Gate Rules
How Zombies Arent Real safe zones, walls, gates and fortify actually work: cell pricing, resupply, funnel design and the mistakes that trap civilians.
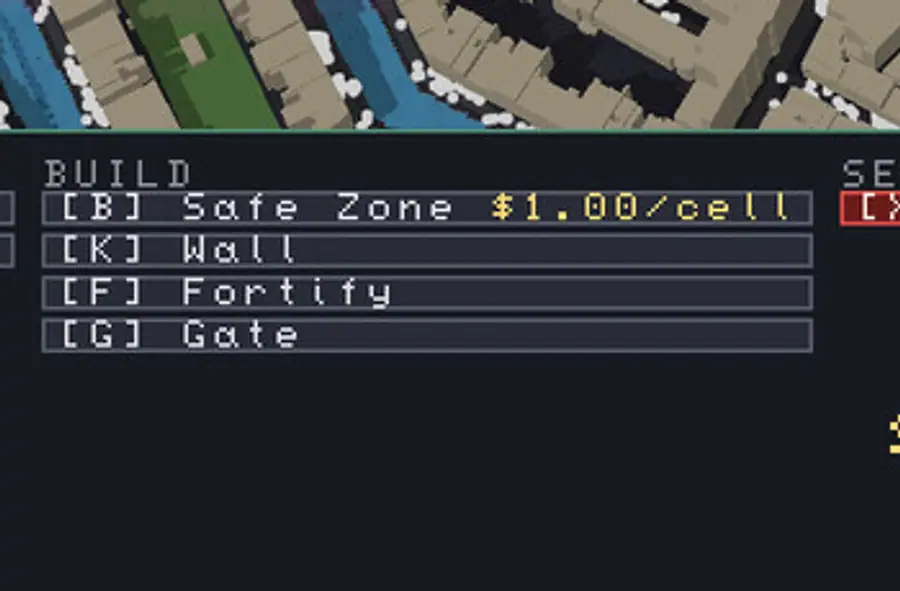
Four build tools sit on the right half of the deploy bar: [B] Safe Zone $1.00/cell, [K] Wall, [F] Fortify and [G] Gate. They are the cheapest things you can buy and the easiest to misuse, because none of them kill anything and the game does not explain what they are for.
They are the skeleton of a defense. Everything else hangs off them.
What a safe zone does
A safe zone is a set of cells marked with B at one dollar per cell. Two things depend on it.
First, it is the resupply footprint. The mortar's selected-unit panel annotates its unlimited reloads with Inside Safe Zone, which means the zone is where ammunition actually comes from. A mortar outside the zone is a four-shell unit.
Second, it is shelter. Civilians inside the zone are not standing in the street, and units inside it are inside a structure you have designated as yours. On a map where every block is contested, a marked zone is a way to say: this part of the city is still a city.
The price is the point: a hundred cells is a hundred dollars, which is less than a turret. There is no good reason to run a tight zone.
Walls are for steering, not for stopping
A wall at K blocks movement. New players build walls to keep the horde out, then watch the horde go around and arrive somewhere worse.
Walls work when they narrow the map. A wall along one side of a street and a gate at the other end does not stop anything; it tells the horde which way to walk. That is the whole trick, and it is why the wall is cheap while the gate is the important tool.
Three rules:
- Never wall a route with no alternative. If the horde has nowhere to go, it goes through the wall, and walls are not strong enough for that.
- Wall the long way round. Make the safe route the short one, and the horde will take it, because pathing prefers short.
- Leave a gate on the civilian route. A gate is how you keep the corridor open while the wall does its job.
Gates, fortify and the kill box
G places a gate, F fortifies a structure, and the two together produce the standard kill box: wall, gate, fortified frame, and firepower facing the gate.
The sequence that works:
- Wall the approach street except for one gate.
- Fortify the buildings on either side of the gate.
- Put a turret or a pair of snipers facing the gate.
- Spike the ground ten metres past the gate.
The result is a place where the horde must walk single file into a prepared sightline. It costs a wall, a gate, a fortify and about ten dollars of spikes, plus whatever fires into it.
The failure version is the same layout with no spikes and no fire: a gate becomes a doorway, and a doorway becomes a breach.
Safe zone placement
Put the zone where resupply matters and where civilians can reach it:
- Behind the kill layer, not on it. Units at the front will be outside the zone when the fight moves.
- Over the corridor junction. The place where civilians change direction is the place they are most likely to get stuck.
- Around the mortar. The mortar's reload is the most zone-dependent stat in the game.
Do not bother zoning ground you have written off. Cells are cheap, but a zone in a lost district is a promise you cannot keep, and it pulls your attention away from the part of the map that still matters.
What the tools do not do
None of these tools kill. None of them slow a horde by themselves; the wall redirects, the gate opens, the fortify hardens, the zone supplies. If the delay and damage layers are missing, the build tools just describe a nicer-looking defeat.
They also do not repair. A breached wall stays breached unless you place another segment, and a gate that gets overrun is a hole rather than a door. Budget a repair allowance, and treat it as part of the defense rather than as an emergency.
The cheapest layer in the game
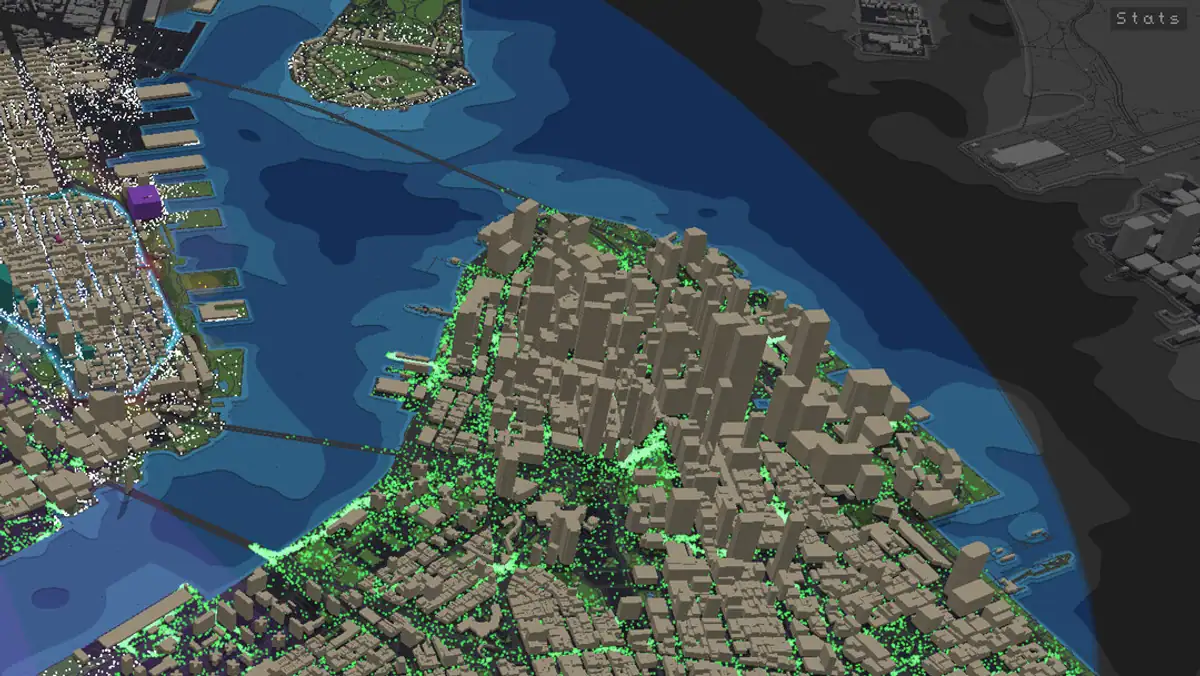
Wall, gate, fortify and zone cells together cost less than one mortar, and they change the shape of the fight more than any single unit. That is the argument for building them first: they make every later purchase better, and they make a bad map playable.
If you only take one rule from this page, take the gate rule. A wall without a gate is a wall that funnels your own civilians into a dead end. The chokepoint guide → covers how to find the right place for that gate on a real city map, and the Steam Community discussions ↗ are where players post layouts after each patch.
F reinforces a structure rather than restoring it. If a building has already been entered, fortifying it afterwards is usually money spent on a lost position.
Official source: Steam store page ↗ · Steam Community hub ↗ · Steam discussions ↗
FAQ
How much does a safe zone cost?
One dollar per cell on the launch build's deploy bar, marked with the B key.
Do safe zones heal units?
The launch build ties resupply to the zone rather than describing healing: the mortar panel shows unlimited reloads only when the unit is inside a safe zone.
What is the difference between a wall and a gate?
A wall blocks movement and a gate is a controllable opening in it. Walls steer the horde; gates decide which route stays usable for your civilians and your units.
Can zombies break walls?
Yes. Walls redirect and delay rather than hold forever, which is why a wall with no firepower behind it is a delay rather than a defense.
Should I fortify every building?
No. Fortify the structures that frame your kill box or sit inside the safe zone. Fortifying a building you are about to lose is wasted money.