
Zombies Arent Real Civilians: The 10% Rule
What civilians do in Zombies Arent Real: how the safe percentage is counted, why 10% is the pass mark, and which tools actually move the number.
The civilians are the scoreboard in Zombies Arent Real. Not the kill count, not the horde total, not the number of buildings you held: the banner at the top of the screen that reads CIVILIANS SAFE: 2% - NEED 10%.
Two percentages, and the gap between them is the mission.
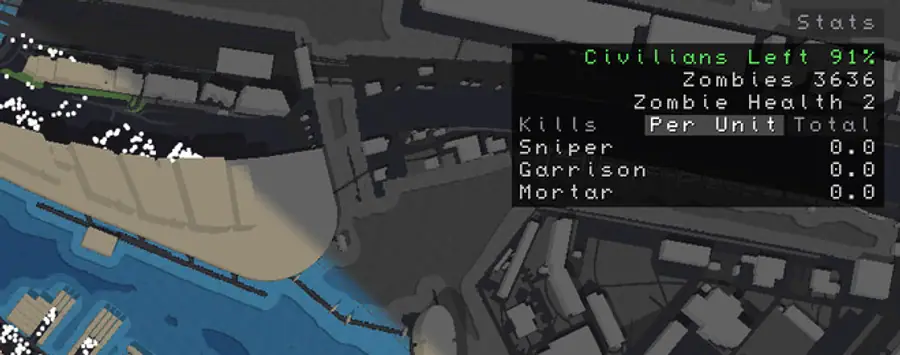
Left is not safe
The overlay tracks Civilians Left as a percentage of the starting population. It is tempting to read that as progress. It is the opposite: it tells you how much of the city is still alive, not how much of it has escaped.
| Readout | Meaning | Direction you want |
|---|---|---|
| Civilians Left | Share of the population still on the map | Slowly down, but not too fast |
| Civilians Safe | Share that has actually left | Up |
| Zombies | Converted population | Down is good, up is normal |
| Zombie Health | Difficulty multiplier | Fixed per mission |
A district full of people and no exit produces a high Civilians Left and a Civilians Safe that never moves. That is the classic losing state, and it looks like success on the overlay.
The three tools that move the number
Corridor at $0.40 per length. Draws the route civilians follow. The single most cost-effective purchase in the game per percent saved: a full corridor across a district costs less than a mortar.
Hold at $0.80 per radius. Tells civilians in an area to stay put. Use it while the route is not ready, or to stop a crowd from walking into a street you have not defended.
Safe Zone at $1.00 per cell. Shelters and resupplies. The units inside stay effective, the civilians inside stay alive, and the footprint is cheap enough that being generous is the correct default.
Notice what is not on the list: killing. A defensive line buys time, and time is only worth anything if there is a route for people to use it.
How to run an evacuation
The sequence that consistently hits the threshold:
- Pick the exit first. The map edge furthest from the infection and closest to the densest civilian block.
- Draw one corridor. From the crowd to the exit. Not two corridors, not a network; one line that works.
- Guard the junctions. Garrisons at $15+ sit on the corners where the corridor changes direction. Those are the places where a crowd becomes a stall.
- Add one branch only if the first is holding. A second corridor doubles the number of junctions you have to defend.
- Hold the stragglers. A
Holdorder on a district you cannot reach yet stops civilians from walking into a lost street.
Step four is where most runs fail. A wide evacuation is more efficient on paper and more fragile in practice, because every branch is a new place for the horde to cut the route.
Why 10% is the number
Ten percent is low on purpose. The design is telling you that the city is lost and the mission is about salvaging a fraction of it, which matches the store page's framing: losing is part of the game, and a defensive line that collapses dramatically is still a valid run.
It also makes the threshold achievable with cheap tools. Corridors and hold orders cost pennies. A player who spends 30% of the budget on the civilian layer and 60% on defense will usually beat a player who spends 95% on defense and forgets the corridor.
What kills the percentage
Air support over the corridor. A helicopter or airstrike that catches a crowd does more damage to the score than any breach. Cover it in the friendly fire guide →.
Mines on the route. Traps do not distinguish civilians from zombies.
A wall with no gate. The crowd paths into a dead end and stops counting.
Abandoning the corridor to save a district. The district is not the objective; the people leaving it are.
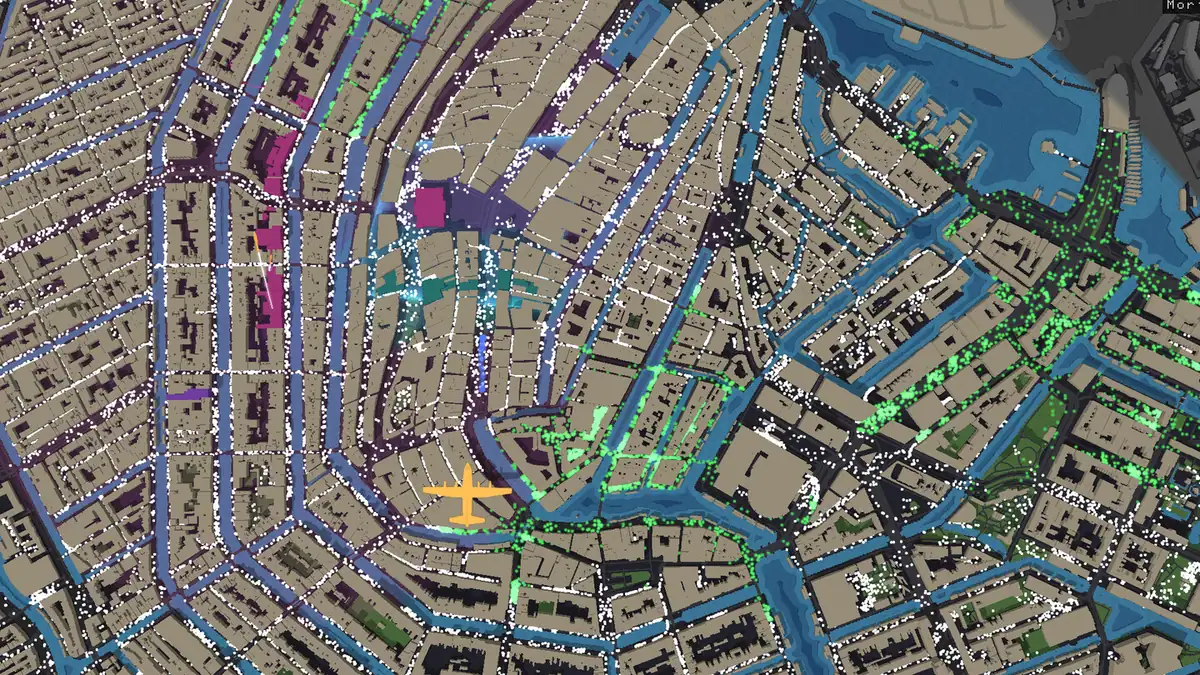
Measuring a run
After the mission, compare three numbers: civilians safe, zombies killed, and budget spent. The first is the result, the second is the method, and the third is the efficiency.
A run with 12% saved and a modest kill count is a better run than 9% saved and a spectacular one, because the mission agrees with the first player. That is worth internalising early: the game will keep offering you chances to look impressive and only one way to win.
The first win guide → applies this to the opening mission, and the zombie spread page → explains why the population keeps shrinking while you work.
If a run is going badly, cut everything else and run a single corridor to the nearest map edge. It is the cheapest way to convert a lost mission into a 12% result.
Official source: Steam store page ↗ · Steam Community hub ↗ · SteamDB ↗
FAQ
How many civilians do you need to save?
Ten percent of the starting population in the launch build, shown on the deployment banner as NEED 10%.
How are civilians saved counted?
Civilians that leave the map count as safe; civilians still inside districts count as left. A district can be full of people and contribute nothing to the percentage.
Do civilians follow corridors automatically?
Corridors are the route tool, and civilians path along them. Without a corridor they scatter and the safe percentage stays near zero.
Can civilians be killed by my own units?
Yes. Explosives, mines and air support do not distinguish between civilians and zombies.
What happens if I save more than 10%?
The mission counts as a win and the score keeps rising with every additional civilian saved, which is why late-run corridor work is still worth the money.