
Zombies Arent Real Defense Setup: Three Layers
A repeatable Zombies Arent Real defense setup: the delay layer, the kill layer and the civilian layer, with real prices and a placement order that works.
Most losing layouts in Zombies Arent Real fail for the same reason: they are one layer deep. A line of garrisons, or a cluster of snipers, or a wall with everything behind it. The horde arrives, the single layer is consumed, and there is nothing behind it.
The fix is not more units. It is three layers, each doing a different job, each cheap enough that losing one does not lose the run.

The three layers
Layer one — delay. Spikes, walls, gates and mine fields. This layer does not try to kill. It decides where the horde walks and how long it takes, and it costs almost nothing: spikes are $1.00 each and safe-zone cells are $1.00 per cell.
Layer two — kill. Snipers, turrets, mortars and garrisons. This is where the money goes, and it is the layer that only works because layer one bought it time.
Layer three — civilians. Corridors at $0.40 per length, hold orders at $0.80 per radius, and the safe zone footprint that keeps units resupplied. This layer is the actual objective, and it is the one most players build last.
Build them in that order during planning, but spend the budget in reverse priority: if the civilian layer is not funded, nothing else matters.
Layer one: decide the geometry
The first pass is not about damage. It is about making the map narrower.
- Put spikes across the approach you expect, not around your units. A dollar each, placed in a line, converts a fast street into a slow one.
- Wall the routes you do not want used, and gate the route you do. A gate is the difference between a funnel and a dead end.
- Mine the ground just past the gate. Mines cost $200 and they are one-use, so spend them where the horde is guaranteed to walk rather than where it might.
The output of this pass is a map with one or two obvious approaches. Everything after that is easier, because there are fewer places to be.
Layer two: put the guns where the geometry points
Now buy damage, and buy it against the funnels you just created.
| Situation | Buy | Why |
|---|---|---|
| One narrow approach | Turret at $90 | Sustained fire into a single file |
| A junction visible from height | Snipers at $35 | Cheap precision from roofs |
| Open ground where clumps form | Mortar at $270 | 40 m blast on a slow target |
| Several doorways to hold | Garrisons at $15+ | Bodies, not damage |
The order matters more than the choice. Snipers first because they are cheap and they scale with the map, a turret next for the lane that worries you, and a mortar only when the map has an open killing field and you already own the units that cover its 160 m minimum range.
Layer three: civilians
This is where the mission is won, and it costs the least.
- Corridor at $0.40 per length draws the route. Run it from the densest civilian block to the safest map edge, and branch once at most.
- Hold at $0.80 per radius parks civilians in place while the route is not ready. Use it to stop a stampede into a street you have not defended yet.
- Safe zone cells at $1.00 mark resupply and shelter. The mortar's unlimited reloads are annotated
Inside Safe Zone, so the zone is also your ammunition footprint.
A layout with a perfect kill layer and no corridor produces the classic 4% result: hundreds of kills, no win.
A worked example
Take the launch mission. Budget in the $9,000 range, infection in the north, civilians spread across the middle, water to the east.
- Spend about $60 on layer one. Forty spikes across two approach streets, wall the third, gate the fourth.
- Spend about $300 on layer two. Four snipers on the junction roofs ($140), one garrison under each sniper ($60+), one turret at the gate ($90).
- Spend about $150 on layer three. Corridor from the densest block to the eastern edge, one hold order where the route narrows.
- Bank the rest. Roughly $8,000 unspent sounds absurd until the first breach, at which point it is four turrets and a wall.
That is a deliberately conservative build. It wins by outlasting rather than by firepower, and it leaves room for the one purchase you always end up needing: a second corridor when the first one closes.
What to fix when it goes wrong
The horde walks around everything. You built at the infection front instead of the routes. Move the layer outward and re-read the map with H.
The kill layer dies in minutes. No delay layer, so the horde arrives at full speed. Spend the first $100 on spikes and walls next time.
Civilians never leave. The corridor is missing, blocked, or leads to a wall. REFUND ALL during planning is the honest fix.
Everything is fine until one breach, then it collapses. Nothing was banked. Keep 10% of the budget in reserve for the moment the map changes.
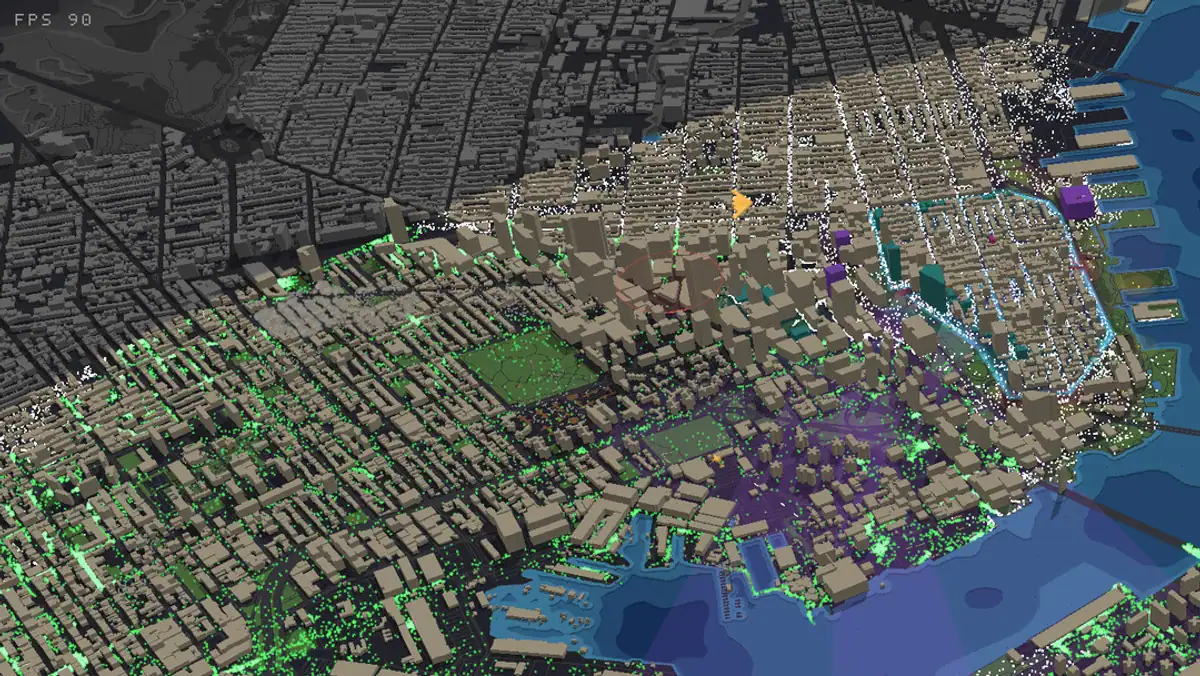
Layer discipline beats unit quality
The most expensive layout in the game still loses if it is one layer deep, and the cheapest three-layer layout wins missions that a mortar line cannot. That is the whole thesis, and it survives balance patches because it is about geometry rather than numbers.
Next, take the layers apart: safe zones → for the build tools, and chokepoints → for where the funnels come from. The Steam Community hub ↗ is worth a read after each patch, since map layouts change faster than unit stats.
Place the delay layer, press play, watch where the horde actually goes, then pause and buy the kill layer against that. The planning phase is untimed; nothing forces a single-sweep purchase.
Official source: Steam store page ↗ · Steam Community hub ↗ · SteamDB ↗
FAQ
What is the best defense setup in Zombies Arent Real?
Three layers: cheap delay (spikes, walls, gates, mines), then damage placed against the funnels those create, then a funded civilian layer with a corridor to a safe edge.
How much should I spend on defense?
The damage layer deserves the bulk of the budget, but it only works if the delay layer was bought first. A workable split on the launch mission is roughly $60 delay, $300 damage, $150 civilians, with the remainder banked.
Do I need a mortar for a solid defense?
No. Turrets and snipers cover most maps for less money. The mortar is for open ground where clumps form, and it needs other units to cover its minimum range.
Where should the safe zone go?
Around the units that need resupply and the civilians that need shelter, which usually means the middle of your layout rather than the front. It costs a dollar per cell, so being generous is cheap.
How do I stop the horde from going around my wall?
Gate the route you want used and put spikes or mines past the gate. A wall without a gate just redirects the horde into a street you have not prepared.